DIY Closet
Recently a client of mine had a closet misshap. They had just bought a new home and started to come up with a design concept to make the home feel more like their home. As we all know, buying a new home is expensive and in this day and age, most don’t buy a home with lots of extra cash flow to completely re-due everything all at once. It’s a one step at a time plane.
My client was in the middle of puting all her cloths away on her spare room closet when the whole thing fell off the wall and came crashing down. She was so upset. In need of a solution she went to the hardware store hoping to find a cheap alternative for now since the list of updates she was working on already was extensive and the budget about to explode. I don’t know if you have been out to look at custom closests or pre fab closests lately, but they can be really expensive for what they are, and some of them concern me when it comes to how stable they are, and really how much they can hold. Below are a few examples of things I found. For the price we paid to buy the wood and build it ourselves, we didn’t only save money, but we were also able to build something that would last.
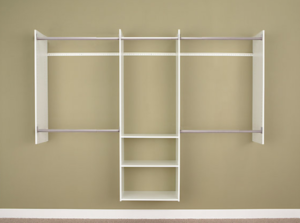 Found at homedepot.ca $246
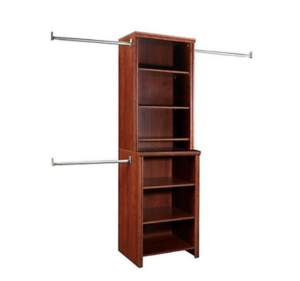 Found at homedepot.ca $265
I’m a believer that there is a time and a place for everything. Sometimes you may want the look of a high end closet or want something a little more juiced up for a walk in. The project she needed to do wasn’t either of those things. Frustrated she called me and asked what I would do.
I came by to check things out. Found a pile of cloths and a whole lot of mess. My client was stressed out, was one more things she didn’t need during an already stressful move. The closet was an older styled closet, the doors were those sliding glass and mirrored doors, the inside was a single shelf and hang bar, it was a lot of missed potential. Being a spare closet it didn’t need to be beautiful, but it did need to be functional. Looking at all the cloths and mess on the floor missed potential was not an option and a fast and inexpensive solution was needed.
So we made a plan.
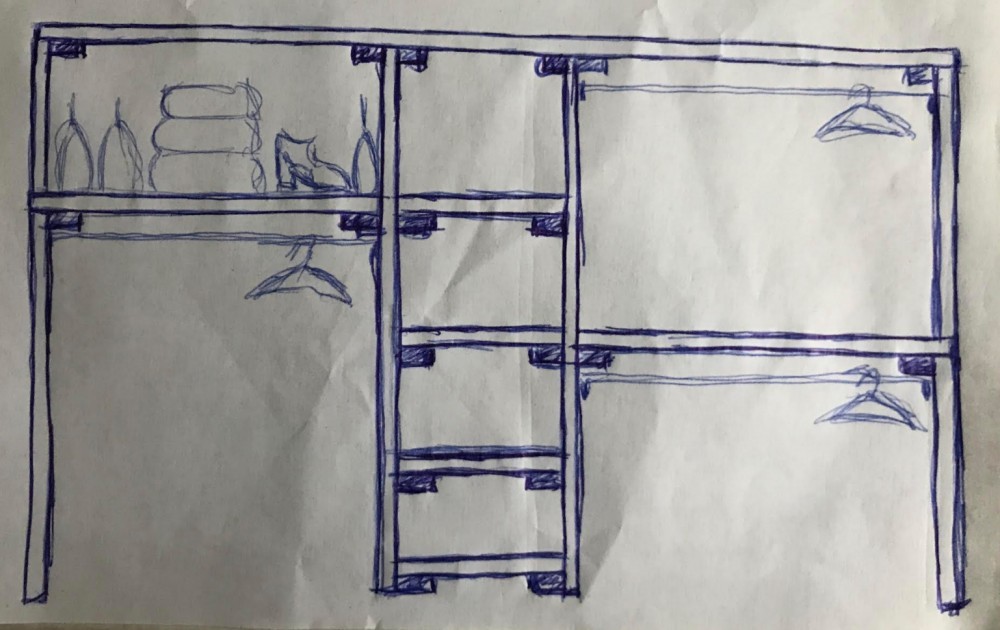
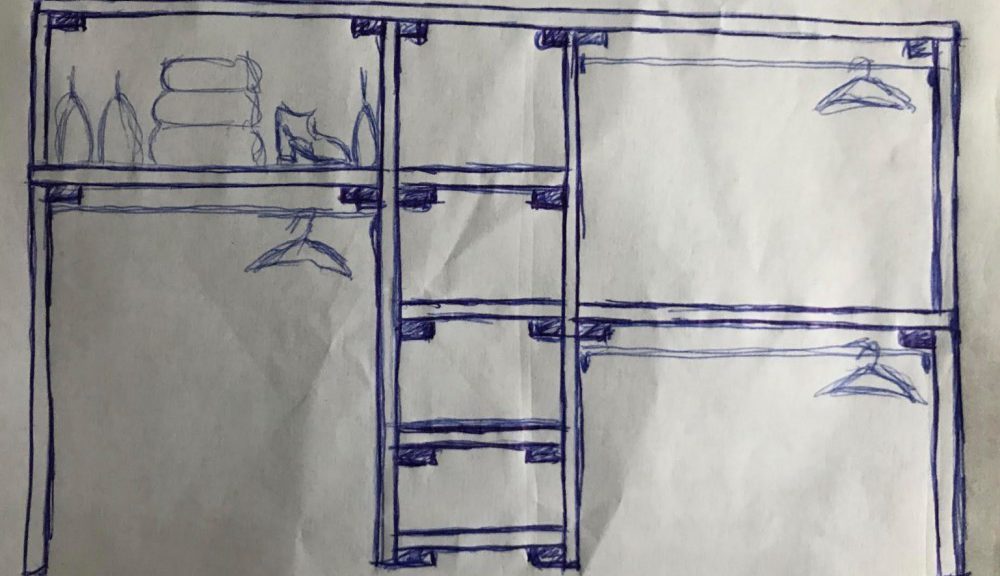
I looked at some custom closet designs we liked and re worked them to suit the clients specific needs. The design was simple. But it is exactly what she needed to maximize her storage and closet space.
The client really wanted to get her hands dirty and help with this project. I love that… Once the plan was in place we started to work through more specific measurements, I included wood thicknesses to make sure that everything would fit once I started construction. Creating a more detailed plan will also help with planing your cut sheet. There is nothing more frustrating then starting a job without the proper plan and adding more work to your projected then you needed too.
Once everything was laid out I headed to the hardware store to price our different wood and sizes to see what I could to to minimize cost and still have the same finished product.
For the horizontal supports, I found that buying 2x8x8 and putting them side by side and bracing them with a 2×4 was significantly more cost effective then buying 2×16 or 1×16. For the shelving I found a great price for 1x16x48 pieces, and I chose to use 2×4 for the shelving support the structure support of the closet.
One thing I think people seem to underestimate, is the weight of your cloths. Your closet inserts need to be able to hold a lot of weight. Well at least the clients closet did…
We chose to use wood over those white wire wracks you can get because I didn’t want to have to solely rely on anchoring the shelves to studs in the wall that may not always line up with the shelving, or have to run the risk of the plugs pulling out and damaging the walls. I speak from experience, this has happened in one of my closets in a previous home. As I mentioned before. remember there is a use for all different types of closets, this one didn’t need to be pretty, it needed to be functional and sturdy. Side note, the clients home design concept is very country rustic so the wood work in the closet works with that.
Happy with the prices and the wood I found, loaded up the truck and headed to the clients home..
Starting construction is the fun part. Make sure your work space is clear of clutter and you have a clear track to the closet before beginning. When your carrying larger pieces of wood around it is very easy to run it into a things or too.
List of materials;
- Step stool if you need
- Wood screws
- Drill
- Saw
- Level
- Measuring tape
- Building materials
- And someone to help you hold things in place
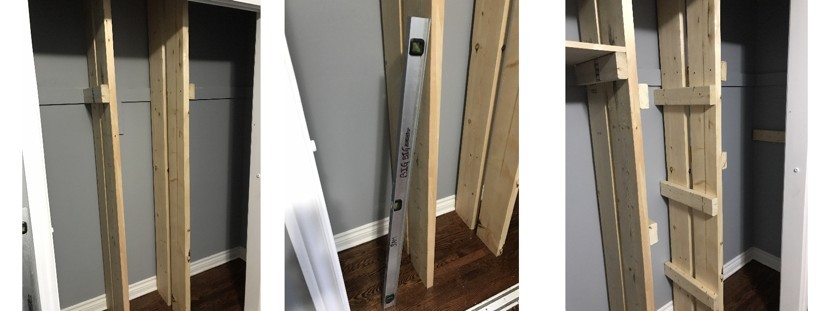
Measure twice, cut once…
I started with the center supports, this is the most important thing as everything else we would build stems from this, and I used an existing support that was already anchored in the wall to tie into.
As I mentioned earlier, I used two 2×8 laid side by side and supported by 2×4 for the center area. Yes there was a gap in between, it over all it worked with the rustic design and one the cloths were all put inside you really didn’t notice it much.
Following the plan we worked to measure out and cut the wood as we built out the supports for the shelving and for the hang bars. Projects like this can be difficult to measure and support and fasten the pieces all on your own. Working with a partner made it a bit easier and we were able to bang off the project in just over an hour.
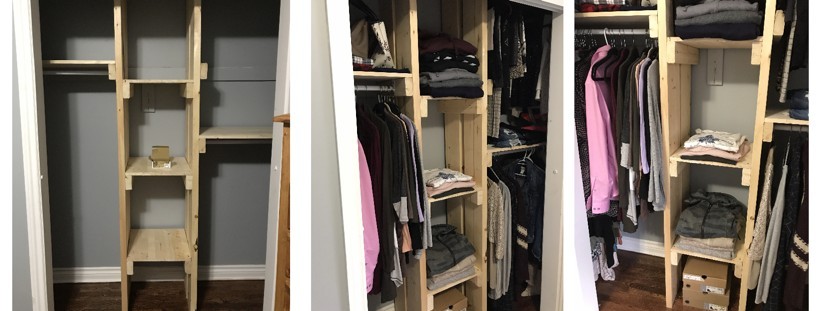
As the closet started to take shape the client got excited, it was nice amongst all the other jobs taking place in the home that she was able to see something start to finish in such a short period of time.
Since we took off the doors of the closet to make it easier to work, the closet was left exposed. The client didn’t want to put the mirrored doors back on and to be honest I completely supported that decision. Eventually her plan is to add some hanging barn door which will look great in her spare room. In the mean time, her plan is to use a tension rod and add some curtains.
Overall the project went well, the client was happy and started putting things away almost immediately after the project was completed. The closet is solid and capable of holding all the things she needed too and the materials for this project cost $220. Significantly less expensive then some of the other pre-fab and custom alternatives.
There are so many do it yourself jobs within your home that you can take on and get some and feel good about. My client wasn’t totally comfortable using a saw and measuring out the wood, so of course I was more then happy to assist. At the end she felt really proud of herself that she was able to help build something for her home. She is excited to show it off and say look what I did.
If your working on any DIY projects in your home I wish you luck and I would love to hear about them. Leave a comment below I share some pics …
