DIY Benches
There are alptmof DIY project you can do around the home to save money and create things that are unique and perfectly suited for the space you needed it for.
Most DIY project start with a problem. There is a decor or design flaw in your home that you want to fix. Some of these project come with a major price tag, others aren’t so bad. Everytime I’m about to start a design or decor project I always start with research and shopping to see what I look I want to achieve and how much it will cost me. At that time I try to look for opportunities to save money and see if I can come up with something I can do myself.
There are plenty of things you can do in your home that you can find ready made at the store or online for a great price. But there are always some projects that are better suited for a DIY project.
My Problem.
The problem I have that needs a solution is some more storage space. I have a very small linen closet and hall closet, I have been able to make it work with what I have but a few more storage spaces won’t hurt. Looking for ways I can incorporate more storage I looked into a few different options. I could add mother closet in the basement. I could try to build some built ins in my space room, or I could redo my bathroom to make space for the linen closet by bumping the wall out. All of those project ideas involve a lot of work and a larger price tag.
In my home I have a king size bed in the master bedroom, it is set up really high off the ground and our dogs do have issues at times getting on and off. At one time I did think a pout outing in a step stool for them, but then I realized the foot of the bed would be a perfect place for a storage unit.
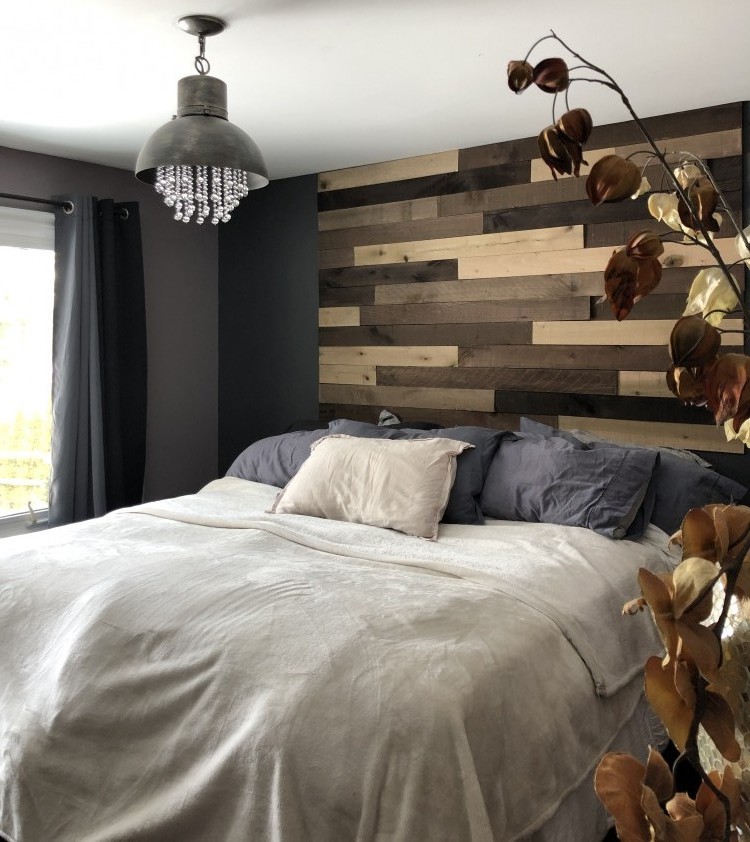
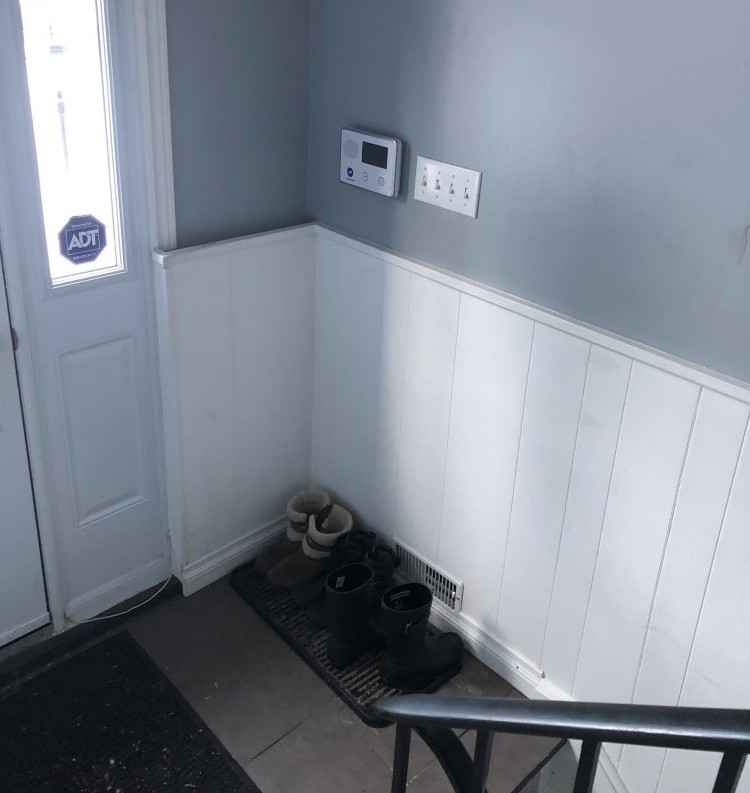
Second, at my front entry I need a bench, when people come over or my husband come home from work, there really isn’t anywhere to sit to take your shoes on or off. Yes you could sit in the stairs, but no one really wants to do that. So project number two because a storing bench at the front renters way.
The bench in the bedroom would become a second storage for bed linens and blankets. And the one at the entry way would be for things like mail, newspapers, keys and cold weather stuff, the dog leashes and poop bags. It is perfect for extra storage for any of those irritating clutter items a that end up out in the entry way that should have a home.
Planing The Solution
No that the problem has been identified and a possible solution in progress it’s time to look for storage units. The theme in the home is rustic chic, it’s a work in progres at this point but it’s coming along bit by bit. We prefer solid wood furniture pieces, they look nicer they last longer and of course natural wood fits in with our theme perfectly.
I started shopping online to see what I could find in the widths and heights I needed and look I wanted. This is come of that I found;
(Product links)
As you can see there is a price tags attached to these units. Unfortunately solid wood is much more expensive then composites. In some cases you do get what you pay for but I prefer to see what the price point would be to make the benches myself.
Creating The Design
Sometimes when you have specific measurements to work with it can be a challenge to find ready made products that work.
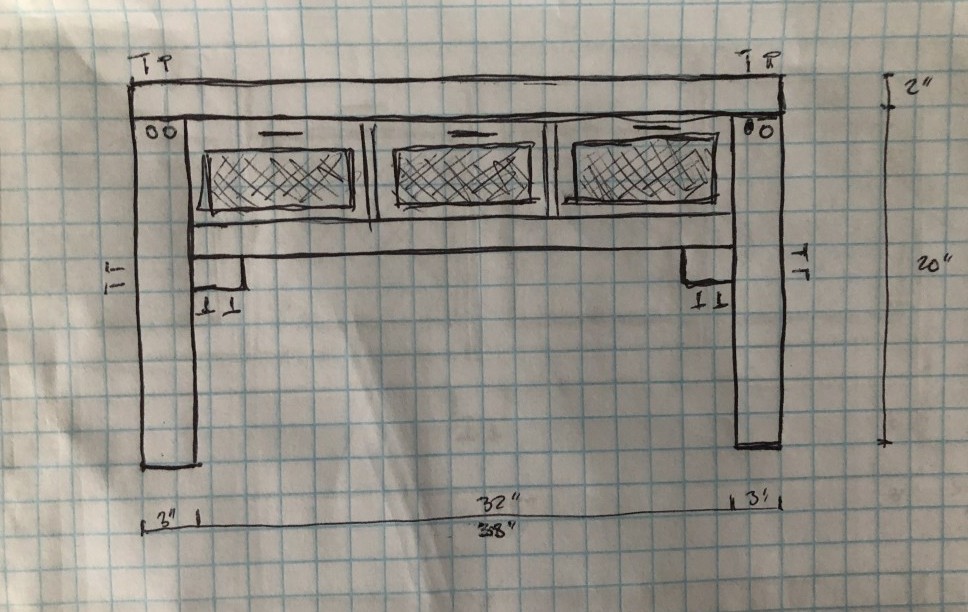
Bench for the entry way below…
The storage bench idea for the master bedroom…
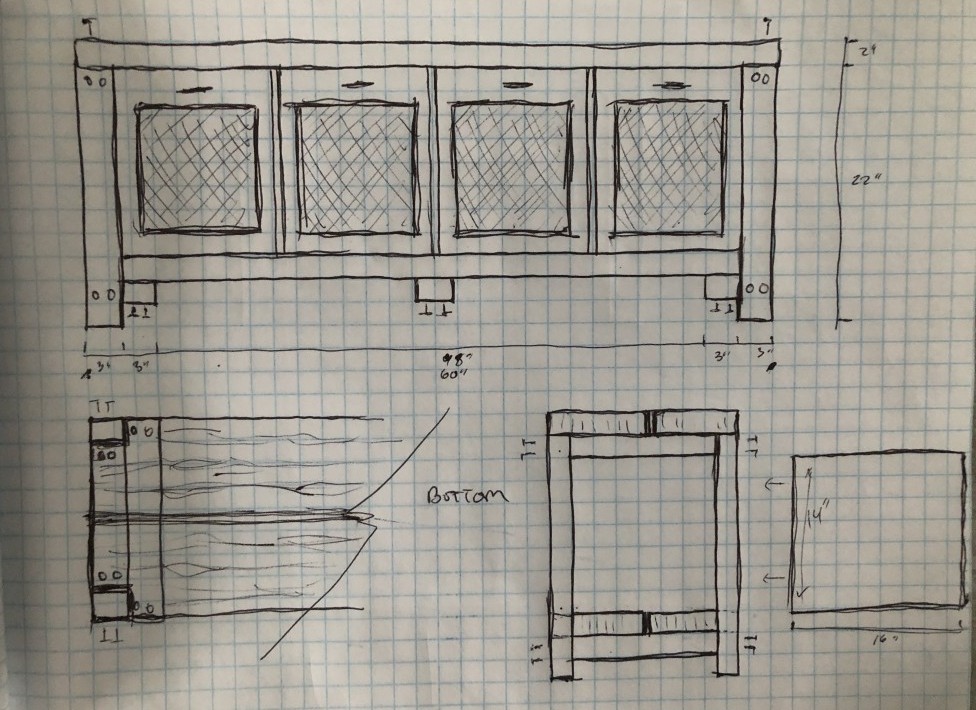
I used some of the storage units I found as inspiration for my designs. I also incorporated chicken wire detailing in the centre of the cabinet doors to work in the rustic look.
I planned out and a list of other materials such as magnets for closure, hinders and wood glue. Went to the hardware store to price everything out and was able to buy all the materials I would need for both units for $165. A price point I wouldn’t even have been able to buy one of the storage units for.
Step By Step How Too
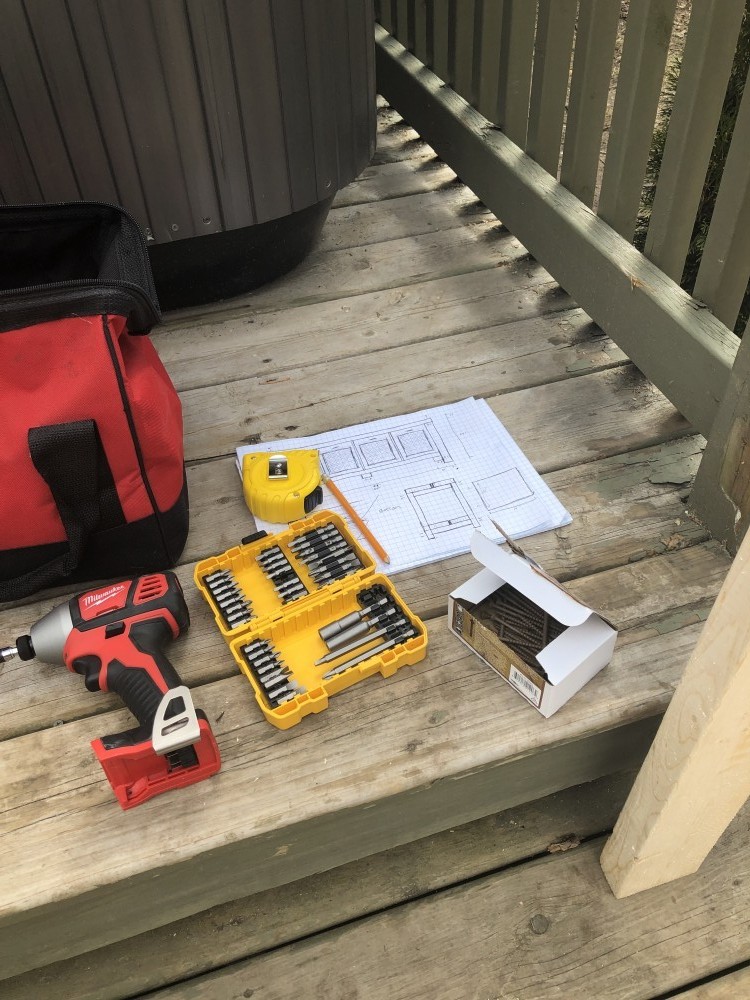
My husband and I like to do our projects together. Typically how it works is I do the design and the shopping and then I hand him the cut list and off we go together to make our projects.
Any project you start as a DIY evolves as it comes together. So don’t think your doing things wrong if you make some changes on eve you start.
We started with the support legs. We got them cut and then cut the braces to build the bottom parts of our frame.
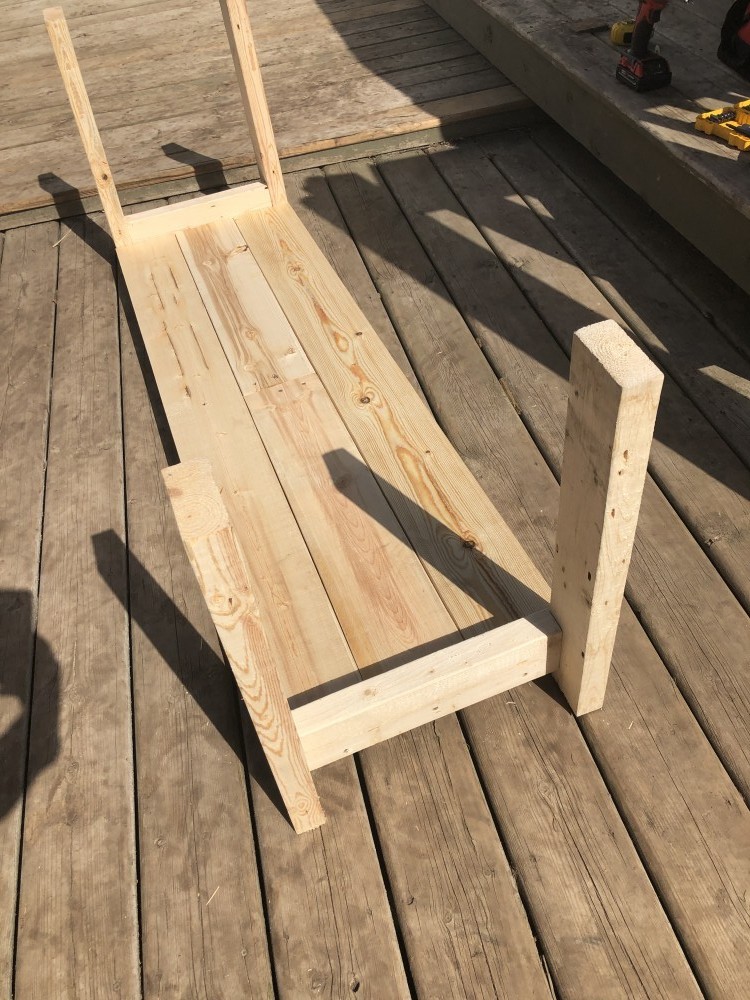
After the legs are built and the braces in place in between I started the top and bottom supports for the seat and the shelf. I chose to do 3 2×6 side by side for this. One it was cheaper then using wood pre cut the width I wanted, second the 2” thickness is going to give the bench extra support for when people sit in it, and lastly the look of the 3 pieces suits the style I want to achieve. For the bench at the front entry I was able to find a small 18” wood shelf that was a good thickness for that I needed, it was in promo and I was able to get away with a smaller piece cause the bench will only be 38” wide when it’s done.
The change in wood for the benches was one of those changes I mentioned that can happen once you start to put the project together. Sometimes you can find some money and time saving options once you get out there and start to buy your materials.
Once the main frame was complete I was able to start measuring out and cutting the pieces for the storage cubbies. When I started I wanted to do 4 separate cubbie spaces for the large bench in the bedroom. Once I put the gram together I decided I wanted two larger cubbies rather then 4 smaller once.
Creative developments during the construction stage to happen. Sometimes things on paper look one way, and once you start to see the project come together you see that another direction will work better.
To build the cubbies I started with mearusing out what I would need for the frames that would create the doors, and then measured the interior of the benches where I would need the dividers.
I used toner brackets to secure the dividers the the top and bottom of the bench. For the interior of the door frames I got some chicken wire that I cut to shape and staples to the frame. I then used a 1×1 trim for the inside to support the frames and seal the edges of the chicken wire so that is isn’t sharp.
Once the doors are built they are ready to be attached to the bench. I got some small cabinet hindges to use to attach the doors to the bench, and I got some small magnets as well for the closure. Before I fastened everything together I measured out and drilled the wholes for the door knobs. I did this because you don’t want to have to try and do it once it’s attavjed, it’s not as easy to measure and drill. I didn’t put the knobs on until the end, kind of the finishing touch.
And that’s it. The whole project took only a couple hours to put together. I haven’t decided if I want to leave the wood natural or stain it. I may even add distressed elements to it. But for now it is the perfect solution to my storage and style need in the master bedroom
The Small Bench
The small bench from start to finish will follow the same construction pattern as the larger bench since the style is similar for the both. The smaller bench will come with it’s own set of challenges as with anything that is smaller to work around with.
One of the differances is that the final top piece was put on last and not attached with the rest of the main frame. I did this because attaching the dividers for the cubbies was going to be a tight fit with my drill if the top of the bench was there. other then that the project went pretty good.
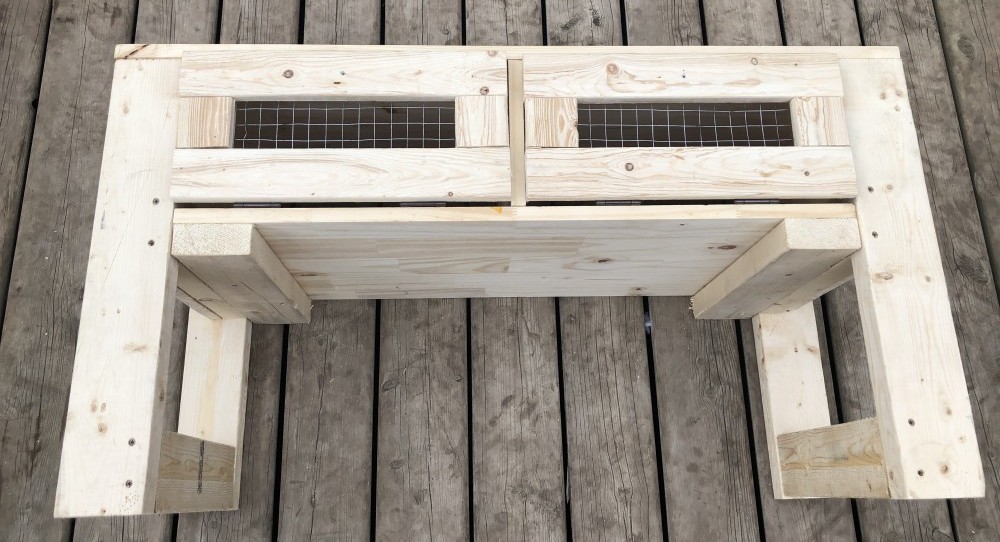
As you can see from the finished piece, the design concept is similar to the one in the master bedroom but was changed in order to address the different needs of my entry way.
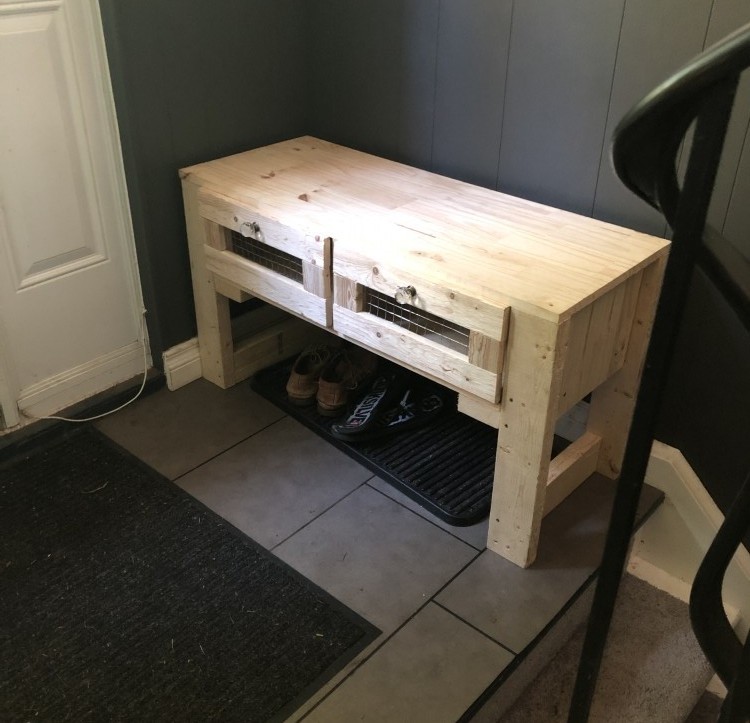
A DIY project can give you tons of creative input in the design that you wouldn’t get if you went out and bought it. There can also be a significant cost savings involved as well. In materials for the two benches I paid less then what one of the benches would have cost me to buy.
When you build it yourself you also get that sense of pride of creating something in tourney mind and building it in reality. All the custom pieces will be just right for what you need, not to mention it will be a one of a kind piece that no one else will ever have.
I love a good DIY project, especially when I can work on them outside with my music on and enjoy the fresh air while I work out my stresses creatively. Everyone has their own thing. I do encourage you to try some DIY’s around your home.
Don’t forget to tell me about them, I would love to hear what you are up too!!