DIY Curtain Rods
Decor has changed, old is new all over again. It is a very popular trend to mix old weathered antiqued items with newer and polished finishes. In the spirit of this, I decided to make some curtain rods built with plumbers pipe.
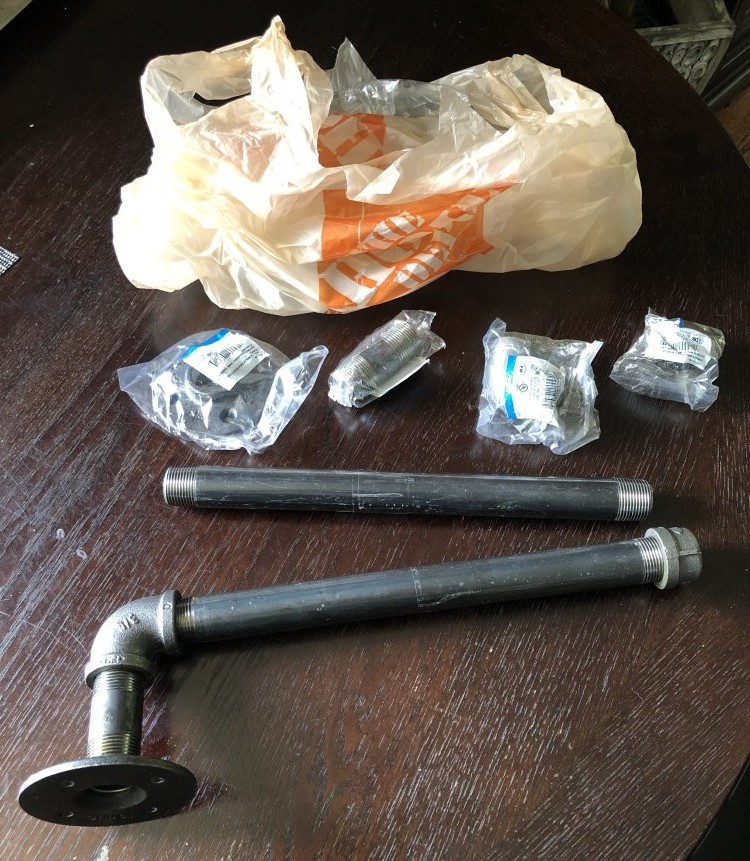
The plumbers pipe I used I got from Home Depot in the pluming section. There were many options for different sizes of the steel pipe they available, I chose the size that best suited the look I wanted. Incase you were wondering it is 3/4″ pipe.
Im sure you have seen table legs, shelving brackets and all sorts of other projects done with steel plumbers pipe. Best thing about using this type of pipe is that you don’t have to worry about welding or cutting, for the most part, because there are so many options for parts and the variety of sizes they come in. You can get super creative with your creations….

The curtains in my living room are more for show then anything. I never close them because I don’t need them for privacy, they are simply there for decoration. Further, my front window is very large so for me to buy a new curtain rod in the rustic look I’m looking for my price tag sits at an average price of $125- $200 and beyond.
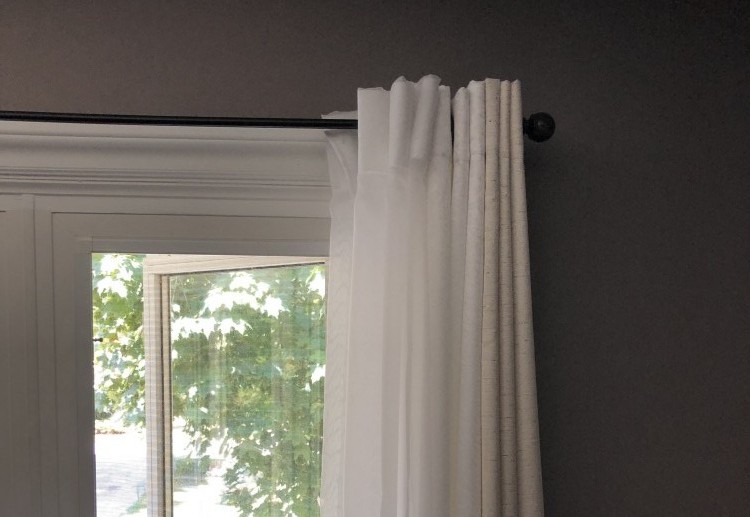
By using the steel plumbers pipe I am able to create side rods for the curtains that will give me the look I am wanting to achieve but at a significant savings. The total cost for this project was only $39. Very excited about that. Side note, it only took a few minutes to put all the pieces together too.

When you are buying the steel plumbers pipe every piece is sold separately. So, once you decide the size of the pipe you want you can choose from a number of different parts that screw together to get the finished product you want. At Home Depot the sizes are marked and color coded, makes it a bit easier at a glance to find what your looking for.
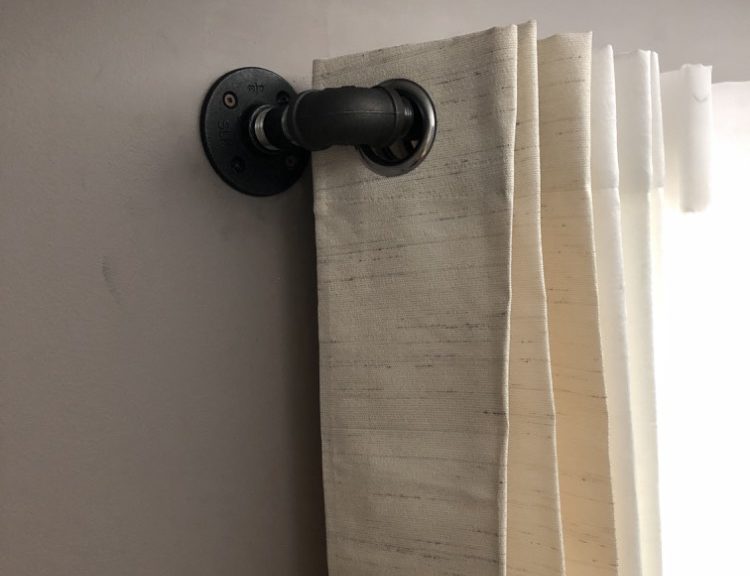
Each curtain rod consists of 5 pieces. The backing (that I will use to fasten the rod to the wall) the screw joint that connects the bracket and the elbow piece, the elbow piece, then the rod part, and finally the end cap. The end cap with a grommet curtain that I have wont stop then curtains from coming off the rod if your were to pull them, but since I’m leaving them stationary it all works just fine. Within a few mins everything was screwed together nice and tight.
After that I was on to the next step. The rods can be a bit heavy, depending on the size you use, not heavy enough for me to be concerned about installing, but heavy enough I have to be cautious about holding it straight while I screwed it into place. You want to be sure you line up the bracket where you want it to be against the window before you install, and know the length of the curtains so they will fall where you want them too. When I was satisfied I crewed the bracket into place and then add the curtains.
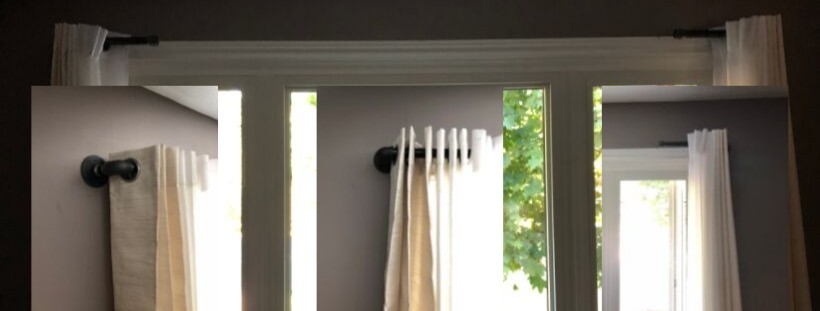
Over all this project was very simple and didn’t take a lot of time at all. The cost savings and the look of the finished product put a smile on my face for sure.

Have you used steel plumbers pipe before? let me know of any projects you have on the go, or leave me a comment below if you have any questions about getting a project of yours started.