Scrapbook Picture Frames
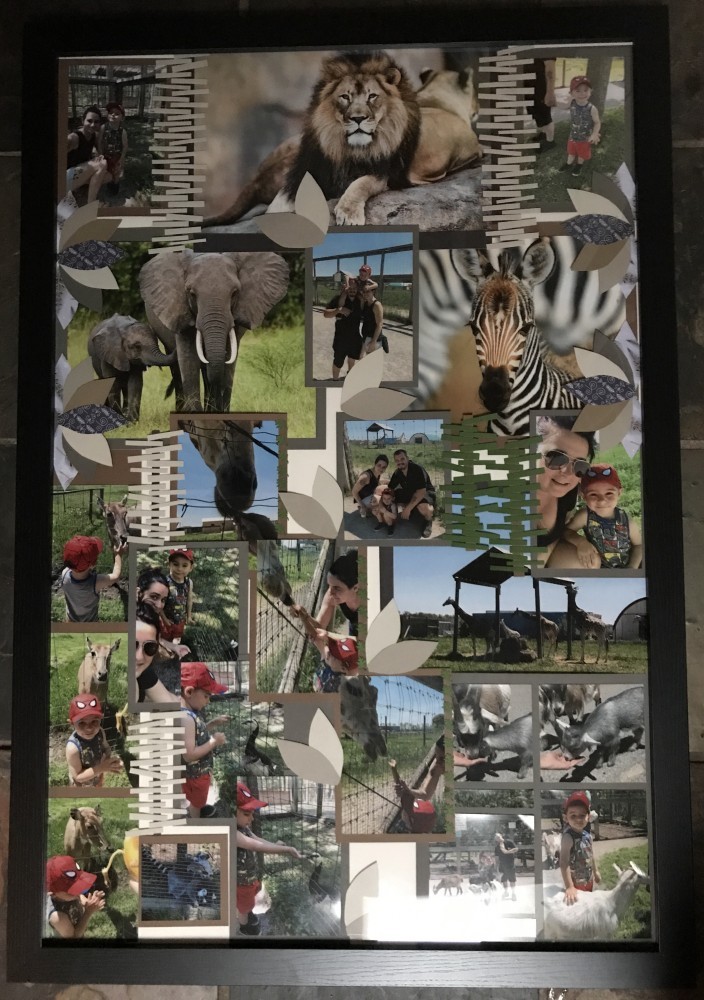
Scrapbooking is a really popular hobby for many people. You can go to any craft store and find a wide variety of papers, stickers, characters, fabrics, glitters and more to create a perfect background setting for any picture. These creative additives turn a basic picture into a fun story. Most scrap book projects are done in an album, but recently we did a family outing to the zoo, my nephews birthday was coming up so I decided to take the same principles of a scrapbook picture album and spread it out onto a large picture frame.
Things you will need for this project;
- Picture frame ( any size you want )
- Decorative paper ( plane and patterned )
- Stickers
- Glue or picture safe tape
- Any other decorative elements you find and want to add
- Pictures of your choosing for the project
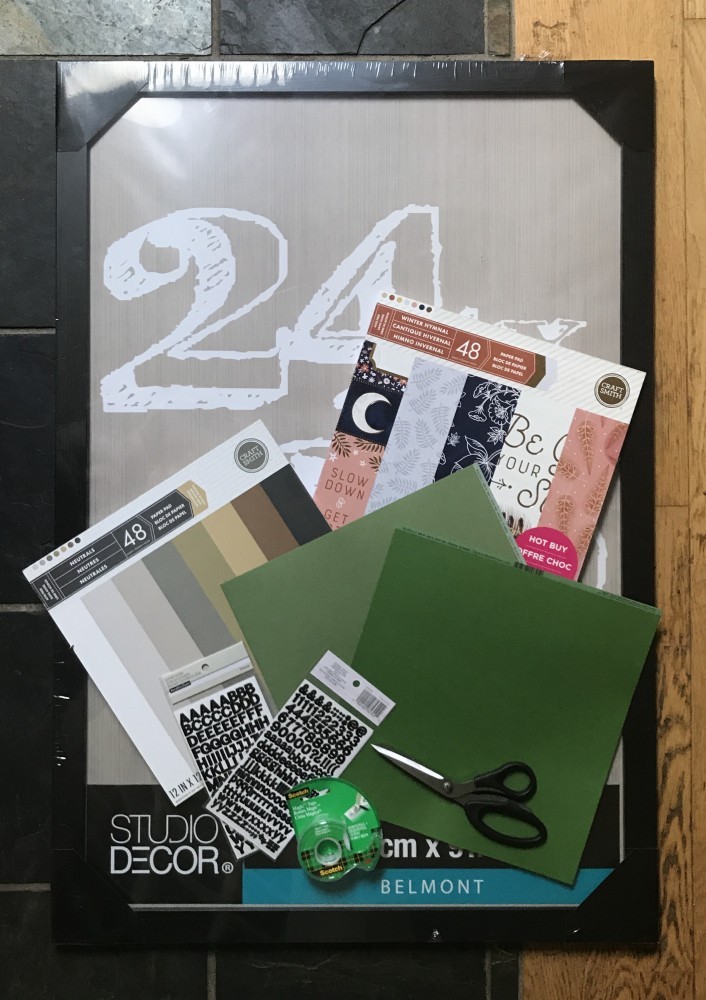
Step 1:
First you will want to spread out everything you have for your project and start building out your layout. I got pictures of different sizes because I am using such a large frame and have the room to do so.
If your having issues with knowing where to start you can check out some images online that match the theme you are doing. I collected some examples that came up from my google search to show you what I mean. To find the images I simple typed in ‘safari scrapbooking ideas’ and a whole bunch of search results came up. I always find a good inspiration search really helps jump start the creativity.
You can take elements out of each one you like and incorporate it into your design…

You may find yourself taking another trip to the store to get more things throughout the project, this is normal, I do it all of the time. You can also over buy, but don’t take things out of the packages and make sure they are returnable incase you don’t use them.
Once I have an idea of where I want things to be within the frame I can start choosing my color paper and backgrounds to fill in the blanks. When I am happy where things are placed and laid out I like to take a picture for reference. I do this because I will have to clear everything away and start to do the cut and pasting part. Nothing worse then having the perfect layout and then forgetting where things were sopose to go.
No, nothing is in stone. You may start with one plan and end up doing something different. That is totally ok, creating something is a process, one that develops as you work through the project. I went through the same process with this project. I started out with one layout, when I was done I took a step back and looked at it and I decided it wasn’t what I wanted and started over. May seem a little crazy yes but thats how it happens sometimes.
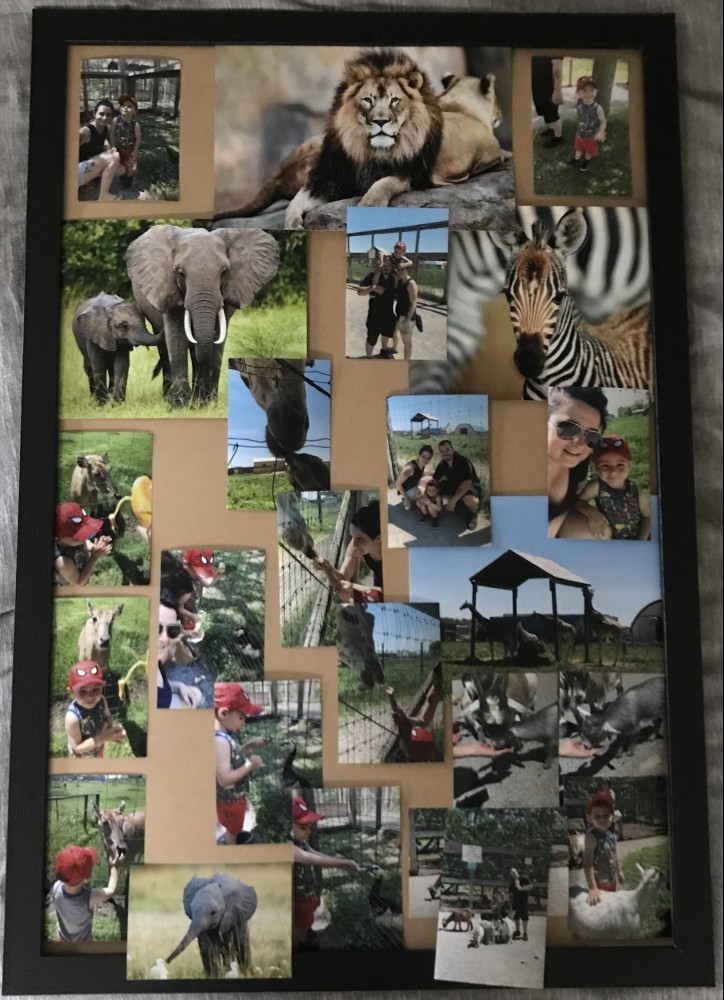
Step 2:
Start cutting your images and layering the coloured paper and other elements. When scrapbooking layering and using odd shapes is part of the magic. It doesn’t need to be perfect, a mistake or errors can be made to look like it happened on purpose. If you don’t like something, try layering another element on top. Really have fun with it.
In the finished project you will notice some leaf like details throughout the layout, I used them to cover up some incorrect seems and layered edges I didn’t like. In the end it looked. like I meant to do it.
There are no hard or fast rules about scrapbooking. You can keep going on forever. Throughout the process just take a step back and see what you have got and then make adjustments accordingly.
A little side tip that may save you time and aggravation… Try a portable cutting board to do all your cutting. I tried it for the first time for this project, I will never go back.
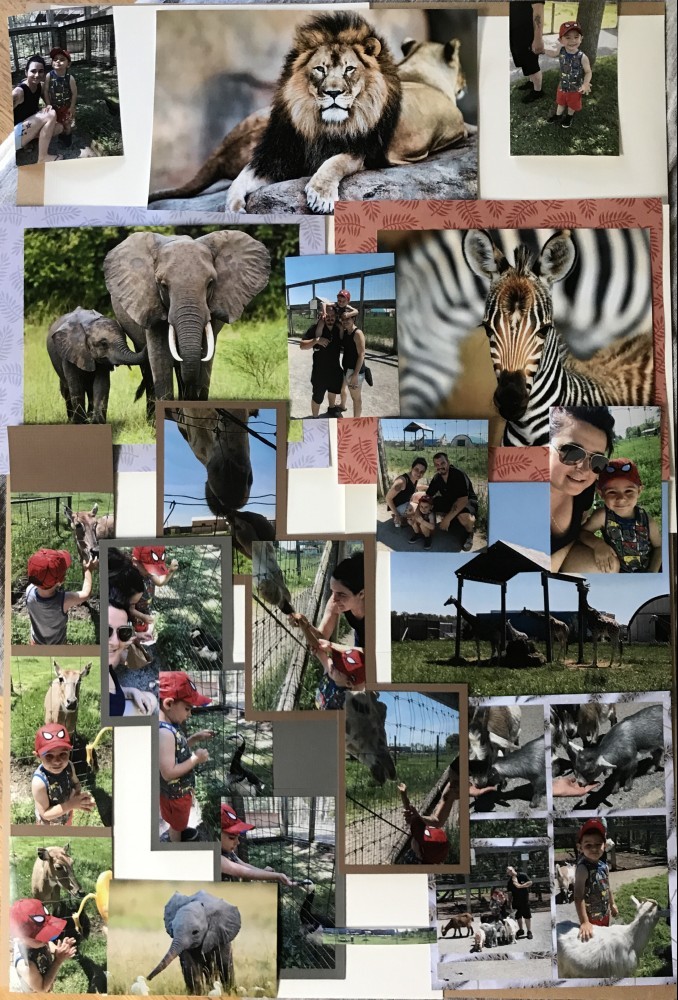
Step 3:
Once you have all the elements cut out, pictures layered on the coloured paper, and you have your original layout picture handy, you can start to glue and or tape everything down. The picture frame I got came with a cardboard backing so I will use that as my base to put everything down.
I would suggest starting with larger items that you have included in your design. For example, I have some larger images I printed off, they are more of my focal points so I will put those in place first. Anything you have chosen as a layering piece that will go on top you will want to add at the end so that you don’t run into issues with trying to slip things under an item that is already taped down.
As you are getting things in place you may notice you want to add more, or an a new idea comes to mind. Go for it, add whatever you want. Scrapbooking is freedom of expression, you can put on as much or as little as you want on the board.
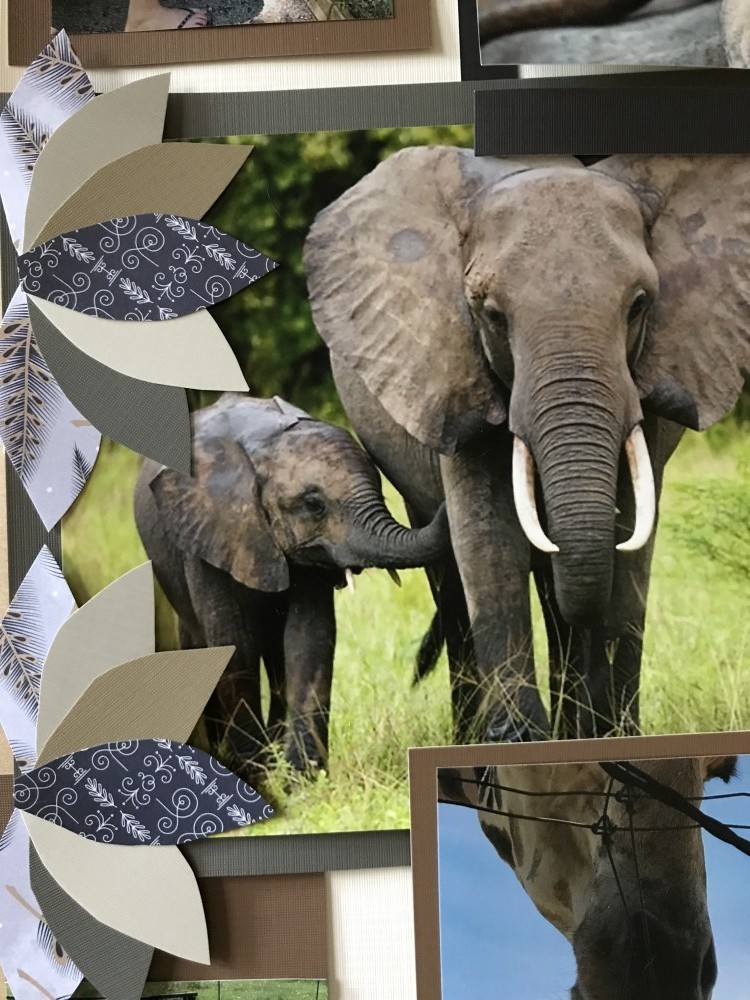
Things are forever changing, there are all sorts of tools you can find to make things easier and more creative. as mentioned for this project I picked up a cutting board that also scores the paper if I need it too. Using something like this saves the extra step of drawing out lines with a ruler and ever so carefully trying to cut the lines straight. I also got this neat stamp that is in the shape of a leaf, it will be great to make paper frames and little leaf designs on the images. And the last little tool I picked up was this neat little glue tape thing, it works like white out tape but its glue. Just amazing if you ask me 🙂
Step 4:
Take a step back and check out your work. At this point you have probably been working at it for a few hours at least, may have had a break or two. Might have even had to take a couple days off in between… life gets busy I know… during this step I like to sit my board up and take a step back. I sit it up to make sure there isn’t any elements that I forgot to tape down, and I also like to see it as a completed project.
If everything is where you want them to be, you can start your clean up and put the frame back together…
Step 5:
Finishing touches and putting the frame back together… this is the end to a job well done. You can be proud of your creating. And you are ready to hang it up or give it away as an amazing gift.
Some things you can get for a scrapbook project might be thinker like an image placed on a sponge or a layered sticker. Things like this may not of fit under the glass. Your more then welcome to add them to the top of the glass once you have put the gram together.
And that’s it! You have created an amazing scrapbook picture frame..
I found some fun examples of things you can buy online for your scrapbooking project if your unable to get out to shop in store. These examples I found came from amazon.ca. You can click on any image and it will take you to the website for further details.
We live in a great age of technology where everything is one click away.
Tips:
Don’t throw out any receipts, you may have purchased extra elements you didn’t end up using. I have done this many times, nothing worse then having items you can’t get your money back for.
You don’t have to only use picture you have taken for your project, you can also cut out images form a magazine or copy images from online and print them.
Natural elements are fun, you can take things you find in nature for your project like dried out flowers or leaves and put them in behind the glass so they don’t get ruined over time.
Not everything you will use for this project will come from a store. I have used maps, ticket stubs, receipts, scrap pieces of paper and sticky notes that related to the theme I was using. When I say the sky’s the limit, it really is the limit.
Consider getting some sort of storage case for all your supplies after. Nothing worse then the extra craft supplies you have getting ruined or lost, dirty or unorganized. You don’t have to get fancy, I found a great little storage container at Micheals Craft Store for only $5
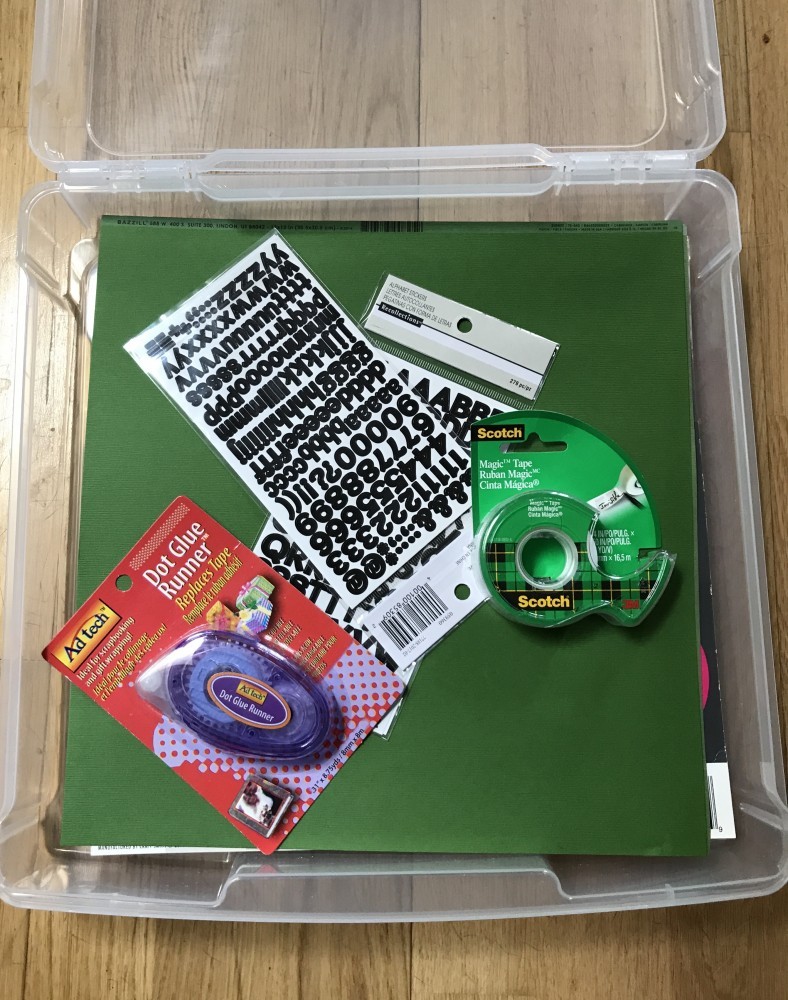
There are also lots of online and in store places where you can get scrapbook elements. Now some of these things can get very expensive. I like to wait for coupons and sales and then collect things then. Just make yourself a budget and do your best to stay within it…
Click on any of the images below for links for some supplies you may need and can get online through amazon.ca
Good luck with your project. I would love to hear about your creation, please leave a comment below…


