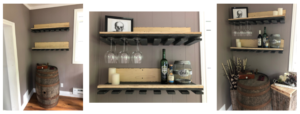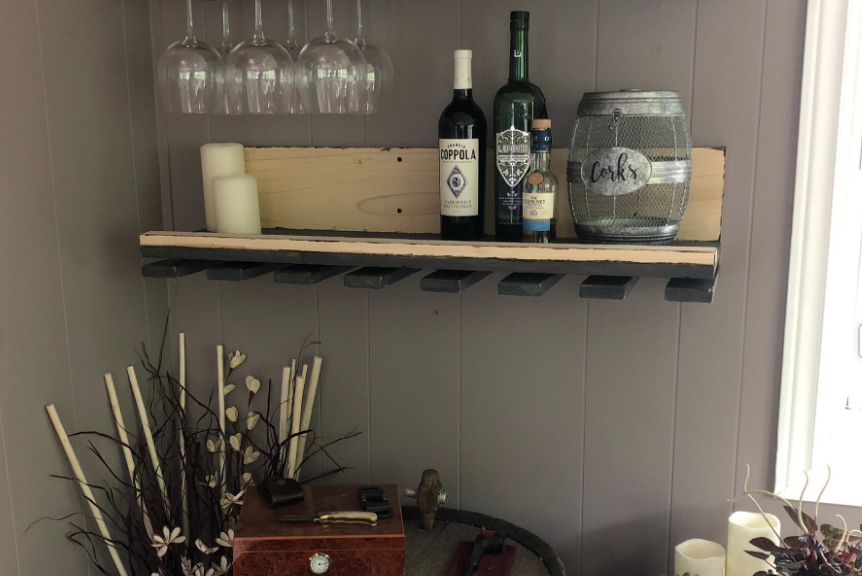
Bar For Small Spaces
Have a bar space for entertaining is a nice thing to have. Not everyone has a basement setup where they can do it. And with the new generation of decor and creating the family hub, the bar / entertainment space is now something you want too integrate within the kitchen or living space.
In my home I chose to create my bar space is in the dining room. I don’t have space to make a whole cabinet and counter set up. Nor do I have the pluming available without major cost to put in a sink and so forth. However I do have the space to create a small compact setup that will serve the purpose i need when i have people over. So I improvised.
We used an old wine barrel for a the base of the design, it would act like the countertop. Above I would build some shelves that could be used for hanging wine glasses and storage for bottles and other glass ware.
I found inspiration for this project on Wayfair. I came across bar shelving and got excited for a new DIY project. I chose to make them myself because it will allow me to customize the size and design. The other bonus was the cost. The cost to buy them was higher then the cost to make them.
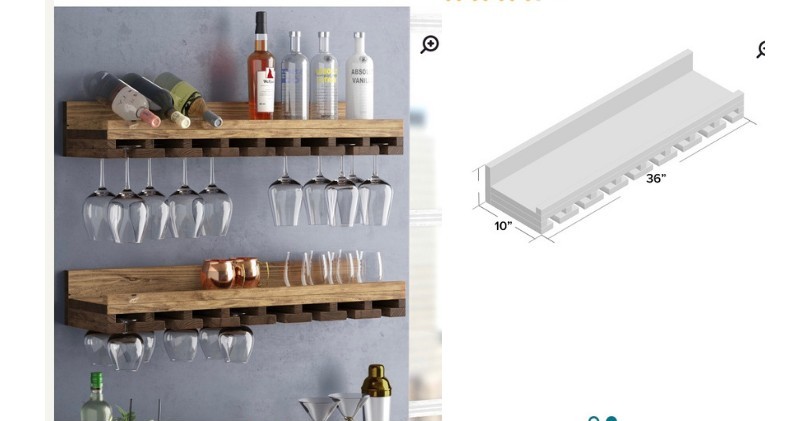
Once I got my measurements all sorted out I was able to start the project…
The type of wood you choose is totally up to you. I sometimes wait till I go to the hardware store to get my material before I decide what wood I will choose. This trip and for this project I decided to use a poplar and knotted pine mix. The poplar is for the back board and the knotted pine for the rest.
DIY projects can evolve. You can get into it and then decide to change certain details. Sometimes this will add extra time to the project but embrace your creativity and let it flow.
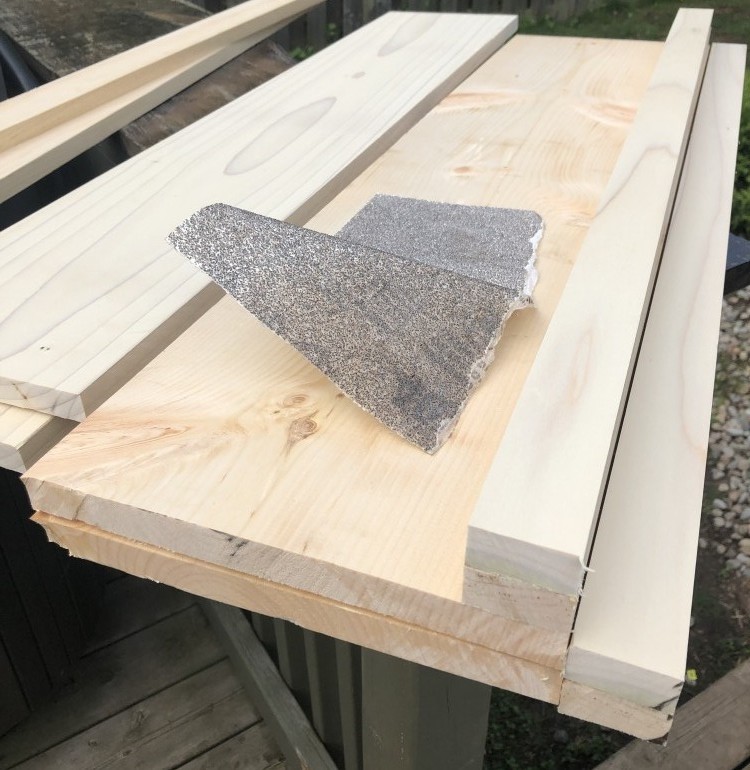
Measure twice and cut once. I don’t cut all my pieces at once. Yes I know what I will need but I like to cut the main pieces first and then work out from there, checking my measurements and adjusting things as I go. The hope is to make less mistakes and limit any waste.
When I cut my pieces I like to sand the edges to make sure there isn’t any split wood from the saw sticking out and to have nice finished edges on the wood before I fasten it together.
Once the shelf was constructed I did face some challenges getting the spaces for the wine glasses figured out.
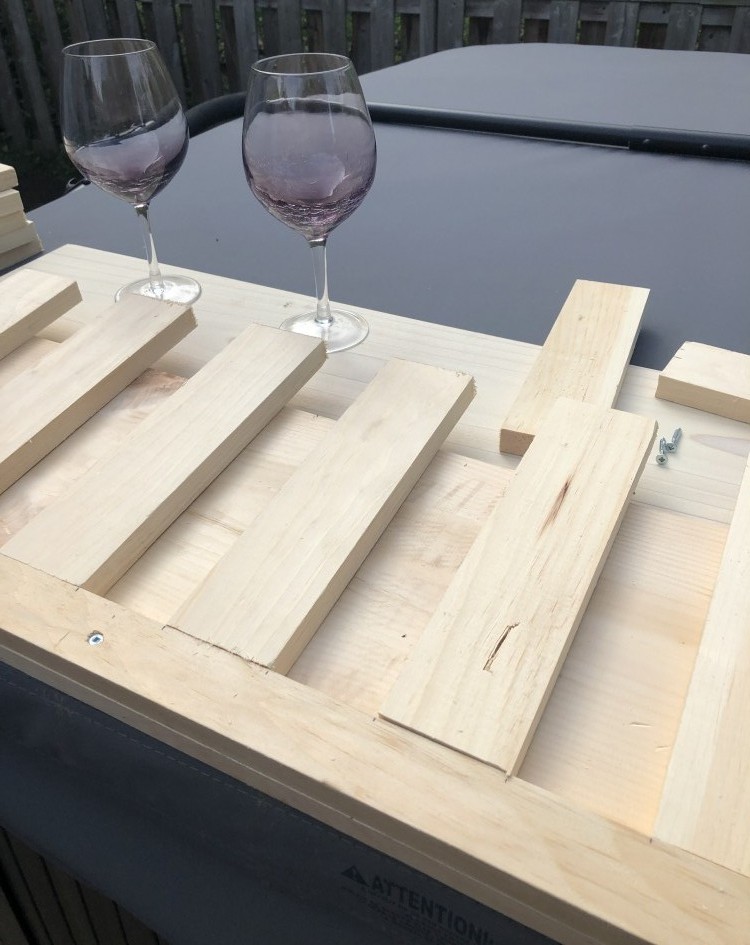
I started with finding centre and then placing one of the support piece on either side. It took some playing around but I finally figure it out. The spacing isn’t perfect but it so close you wouldn’t be able to tell unless you measured them.
That was the final step to completing to construction of the shelves.
Deciding weather or not to stain the wood is personal preference. Because the overall look in the space is a rustic farmhouse feel I decided to do a mix of natural wood and the stained. The stained parts will be sanded down to make it look rustic and old. The natural piece will be the back panel made form poplar.
When your doing a rustic stained piece it almost always looks worse before it looks better. It is easy to start staining and then feel regret that you may have made a mistake doing it. I know I feel that way every time.
Good thing about stain and wood you can sand it down and rework it.
A tip… If you plan on staining your project from the start, I would suggest staining the wood first before putting it all together. It is tough to sand down areas and stain all the cracks once it is put together.
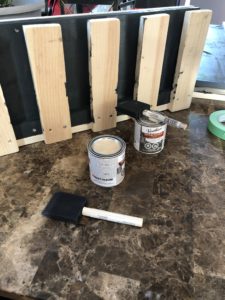
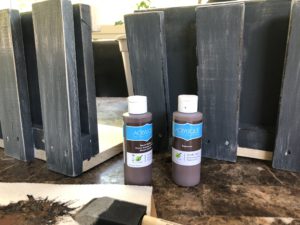
As with every project it is a development. You may start with one idea and then end up going down a different path. I started with staining just the shelves in the dark color and the rest in a white wash. As I started to execute the color palate I decided I didn’t like the way it was turning out. So I played around with a few more color choices and then continued to work on finishing the shelves.
After everything has been stained I let it rest over night in a well ventilated area to make sure it gets plenty of time to dry before I start sanding.
Once dry I used 220 sand paper to sand down the gloss finish and weather the edges. After I do a section I use a damp cloth to wipe away the dust and then rework the ares that need to be done. Every surface and every edge will be sanded so that the over all look is consistent.
When its done it has the texture and color I was hoping for. Its ready to be installed.
