DIY Plumbers Pipe Wood Rack
I have done a few projects with plumbers pipe and this is just another great idea. I love the versatility of the plumbers pipe for different projects. Today’s project was to create a wood rack for beside my fire place in the living room.
As fall gets closer I started thinking about getting ready for the upcoming season. Last year we didn’t have a wood rack and the fire wood was left on the floor beside the fire place or in empty flower boxes. The mess and unorganized use was driving me nuts. This year I decided to do things differently.
Research
I started with some online research. I looked for different styles of wood racks and sizes to see what I liked best for my project. I also had to keep in mind some challenges that will come with using the plumbers pipe.
Once I got some ideas I did a quick sketch to plan out how many pieces I would need. This made the shopping part faster and easier. If your someone tat like to price things out first, having a plan drawn out will also help with that.

Shopping
I got all the pieces I needed from my local Home Depot store. I followed the drawing I made to count out all the pieces I would need so I knew I wasn’t missing anything. Like I always do, I changed the design a bit while I was shoo-in for the parts as I realized some of the components wouldn’t attach properly.
The change also saved me some money so that was a positive. Overall the parts aren’t that expensive, the are $1.50-$5.00 a piece for the most part. The long rods ran me about $8 a piece, still nothing extreme for cost. I probably could have built this in wood for cheaper, however the wood rack is going in the same room as the window that has the plumbers pipe curtain rods so I felt it would be a good accent.
The total cost for the project was $115. During my research I did see some racks the were at a lesser cost however they weren’t the look I wanted and there was the concern of how sturdy it would be in time the the heaviness of the wood it would be holding.
Putting it all together
When it came to putting it together it was a bit of a jigsaw puzzle. Because your twisting the parts together you have to be mindful of how your constructing it.
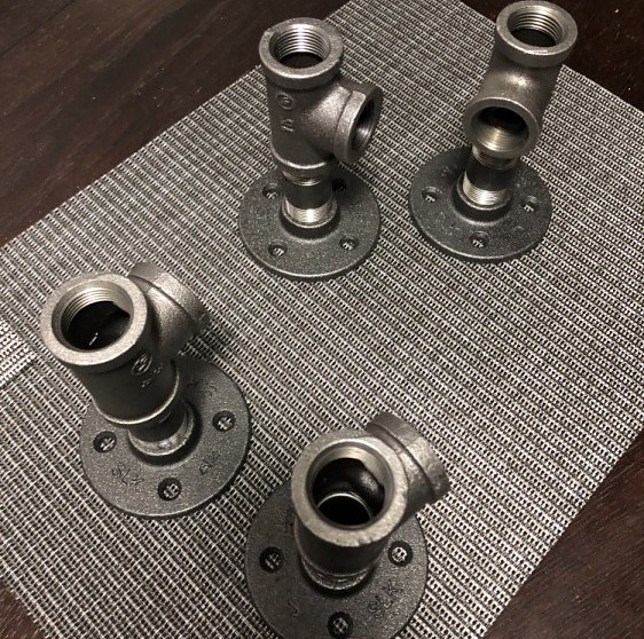
After the legs were all put together I was able to add the next layer of pieces that would be used to hold rods that would act as a cross brace for support. When adding pieces together one at a time in a vertical or horizontal pattern it is all very quick and easy. The challenge started when I went to add cross peace’s that would be used to build up the structure and overall look of the project.
All the pieces screw in the same way, so I needed to manipulate when I added what piece and decide where I was going to have to rely on some welding glue to hold the loose pieces in pace. Best in to choose the place that would have the least structural implications.
You will notice that between ever piece there is a connection piece, you can buy these in a variety of lengths. I chose to purchase the 2 1/2” length for this project.
I wanted all the supports to be close to the bottom for my design. If you want the braces in the center you would just need to purchase connector pieces that are long enough to put the braces where you want them.
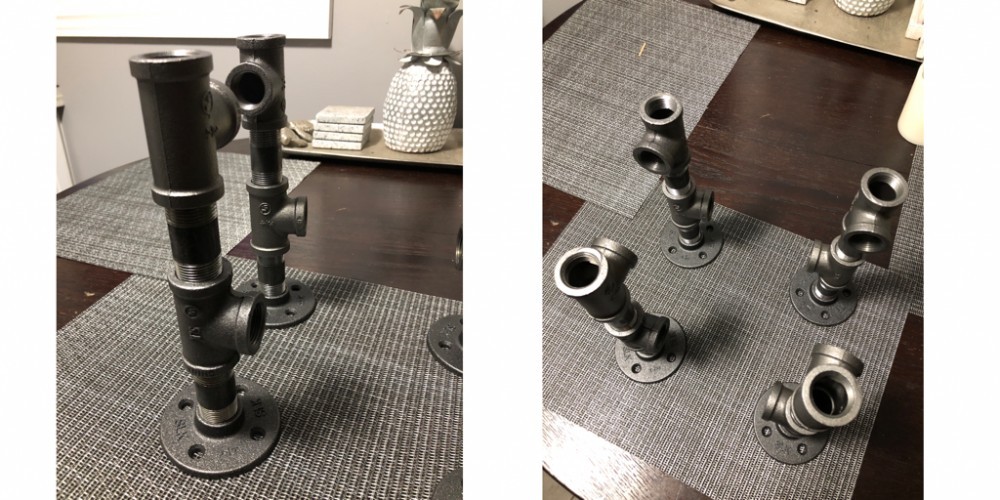
The next step I almost had to do twice. I added the cross bars to the legs before I did the base peace’s. As mentioned earlier, the problem with that was when I wanted to put it all together I could only attach the base peaces to one side because of the direction of the tread and how each piece screws together.
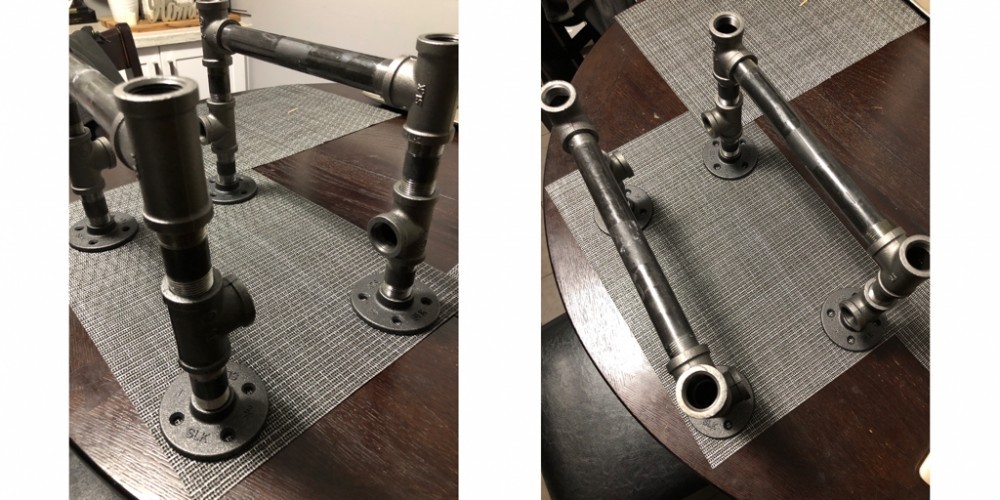
I could use glue to attach the base pieces however I feel for the stability of the rack it would be better the secure the base and the glue the cross pieces.
If you don’t want to do that you could create a wood base to screw the legs down too. This would eliminate the need for the glue and would mean I wouldn’t have to start over.
Once all that was sorted it was time to add the tall rods that would hold the I wood with in the rack. And finally the caps.
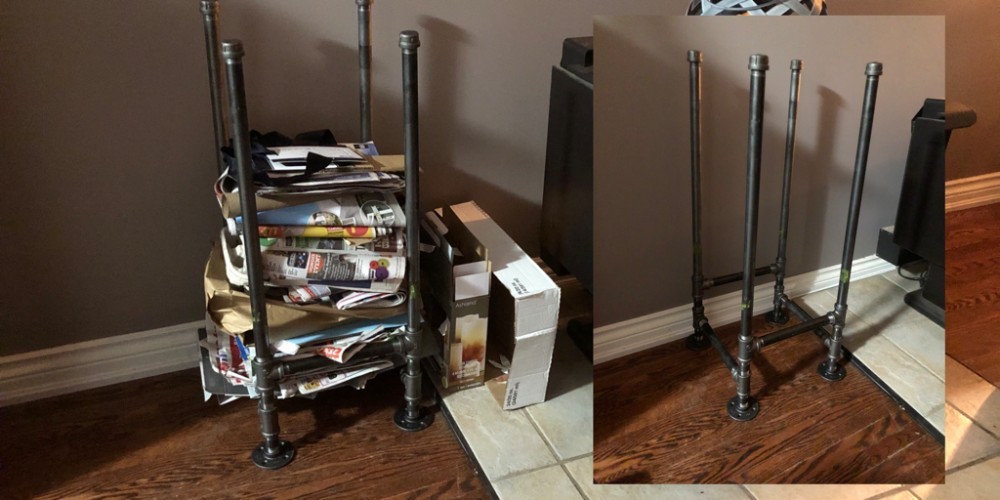
I decided to add the wood base to my project. I like the look and I liked that it made the whole thing more sturdy. I stained it as well to make the base look finished.
And I’m done
Overall the project took only a few hours from start to finish. It was a project I did in the evening after work. Something you should keep in mind is that the pipe is very dirty and will make your hands black. I washed the rods of excess soot with soap and warm water before I started building.
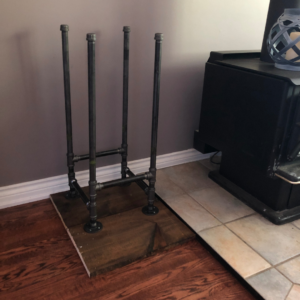
DIY is almost always my go too when it comes to projects for around the house. Sometimes there is some serious savings. Others times not so much but you get the chance to put your own personal touches on your projects and get to be proud of the things you create.
Time is always a factor. Not everyone has the time or patience for a DIY project, I totally understand that. Don’t go building and designing a full wall unit if you are lost and frustrated from the start. DIY projects come in all sorts of shapes and sizes. I will say, once you complete your first project it may be an addicting past time. Hobby’s are a great way to destress and unwind. Don’t give yourself unreasonable time lines and expectations to finish things. Have some fun, and don’t forget to share your ideas, would love to head about them.