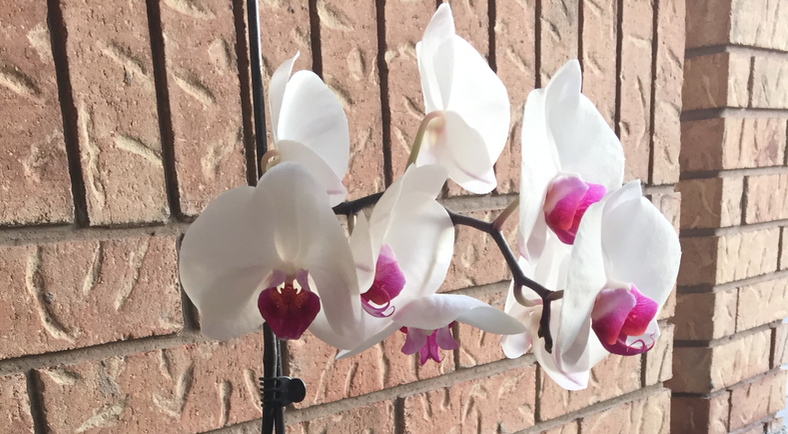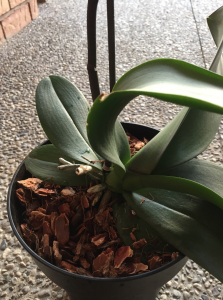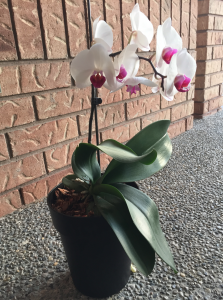
Re-Potting Your Orchid
I don’t know about you, but I love Orchids. They are really easy to take care of and are an amazing indoor plant. Last year a friend of mine brought one over as a house warming gift, since then I have redecorated and the pot o longer works with my indoor decor.
Finding a good reason to go to the garden centre has never been a problem for me. There are a few bigs ones near me, I can literally spend hours wandering around and checking out new things. So off the the garden centre I went to get a new pot…
There is something to keep in mind, when it comes to re-potting orchids it is suggested to gradually increase the size of the pot. You want to pot that is just a size bigger then the one you already have the plant in. This can be a challenge as some orchids come in very small pots when you first buy them. Recently succulents have gained increasing popularity, garden centers have entire sections dedicated to these little plants, which include a variety of little pots…
What you will need…
- A new pot that is slightly larger then the one your plant is in now.
- Orchid mix… not potting soil
- Some water
- A knife
Mix From Lowes.ca $10.99 a bag
First thing you want to do is make sure the pot is clean. After that you can start to add the orchid mix to the pot. You will want to do about a handful at a time, adding some water as you go so that the bark mix is most for when you add your orchid. Don’t fill the pot yet, you need to make sure you have enough room for all the roots of your plant…
Carefully tip the current pot with the plant inside over the new pot so that it catches any bark that falls as you gentle pull the orchid out of the pot. Check your roots, if there is any rot, use the knife to clean it away, cleaning the knife after each use to make sure the rot is removed and not spread. Now you can place the plant into your pot. Holding it sturdy continue to add more of your orchid mix and water to the new bark until you have filled your pot.


And thats it… all that is left is the clean up, which isn’t much. Your orchid is ready to be put back in its spot in your home.
If you have any other tips or tricks that you use drop a comment below…
